IIIF manifests are great, but what if you want to work with digital images outside of a IIIF interface? There are a few different ways I’ve figured out that I can use IIIF manifests to download all the images from a manuscript. The exact approach will vary since different institutions construct their image URLs in different ways. Here’s the first approach, which is fairly straightforward and uses e-codices as an example. Tomorrow I’ll post a second post using on the Vatican Digital Library. Please remember that most institutions license their images, so don’t repost or publish images unless the institution specifically allows this in their license.
Method 1: The manifest has urls that resolve directly to image files
This is the easiest method, but it only works if the manifest contains urls that resolve directly to image files. If you can copy a url and paste it into a browser and an image displays, you can use this method. The manifests provided by e-codices follow this approach.
- Install DownThemAll, a Firefox browser plugin that allows you to download all the files linked to from a webpage. (There is a similar browser plugin for Chrome, called Get Them All, but it did not recognize the image files linked from the manifest)
- Go to e-codices, search for a manuscript, and click the “IIIF manifest” link on the Overview page.
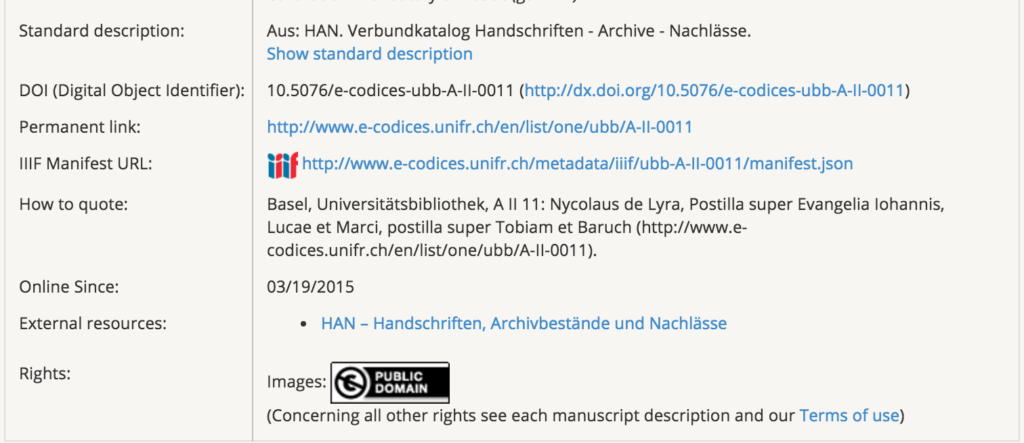
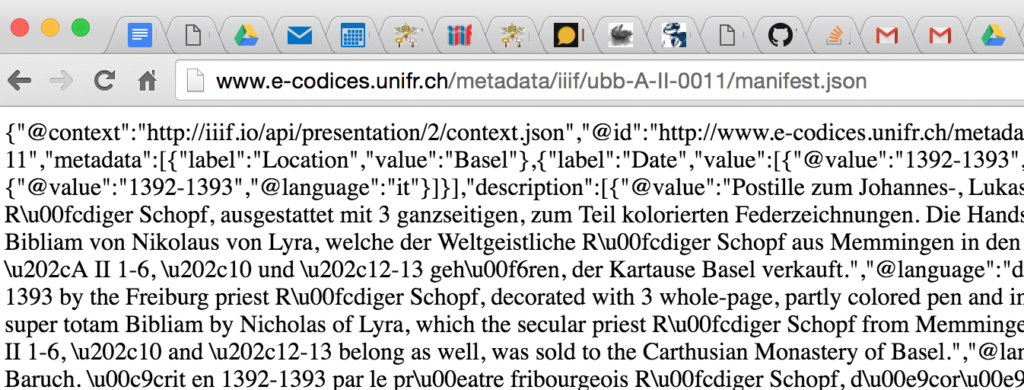
IIIF manifest link (look for the colorful IIIF logo) The manifest will open in the browser. It will look like a mess, but it doesn’t need to look good.
Messy manifest. - Open DownThemAll. It will recognize all the files linked from the manifest (including .json files, .jpg, .j2, and anything else) and list them. Click the box next to “JPEG Images” at the bottom of the page (under “Filters”). It will highlight all the JPEG images in the list, including the various “default.jpg” images and files ending with “.jp2”
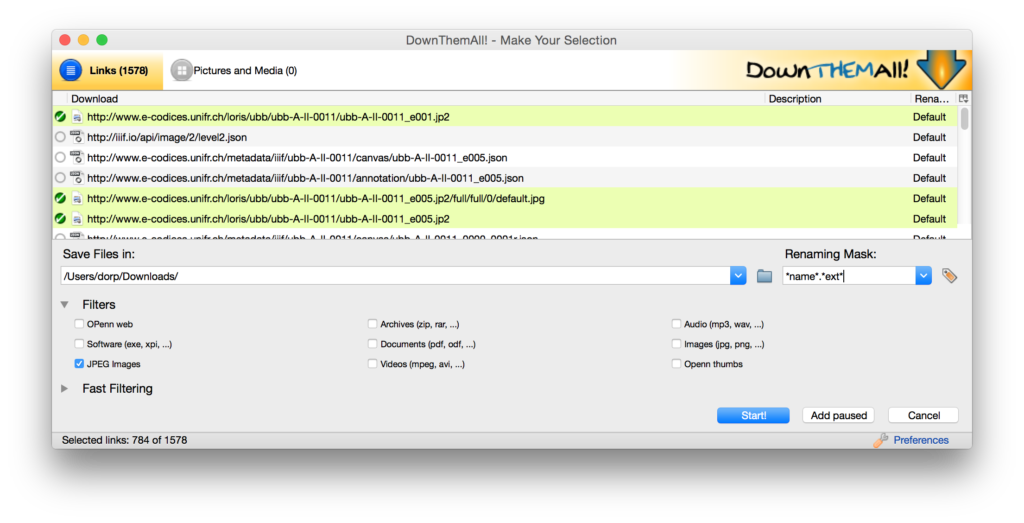
JPEG images highlighted in Down Them All - Now, we only want the images that are named “default.jpg”. These are the “regular” jpeg files; the .jp2 files are the masters and, although you could download them, your browser wouldn’t know what to do with them. So we need to create a new filter so we get only the default.jpg files. To do this, first click “Preferences” in the lower right-hand corner, then click the “Filters” button in the resulting window.
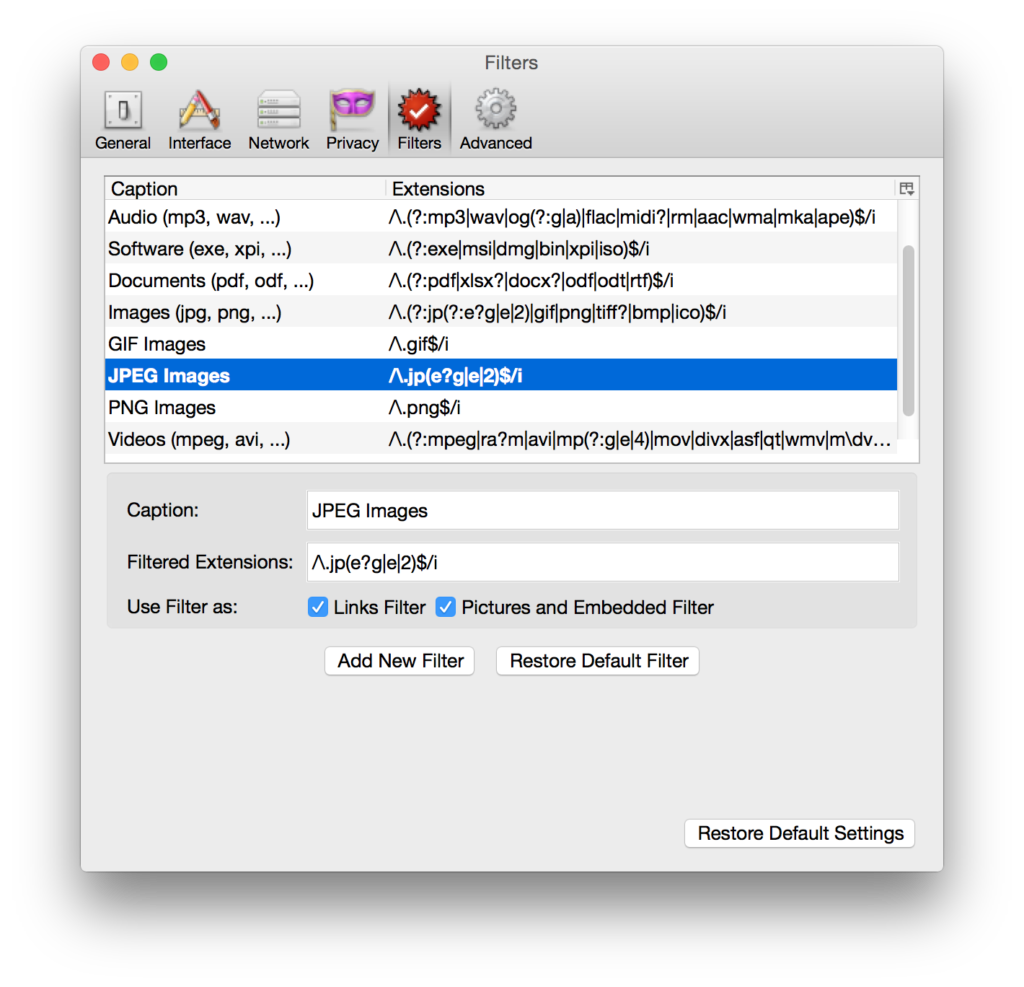
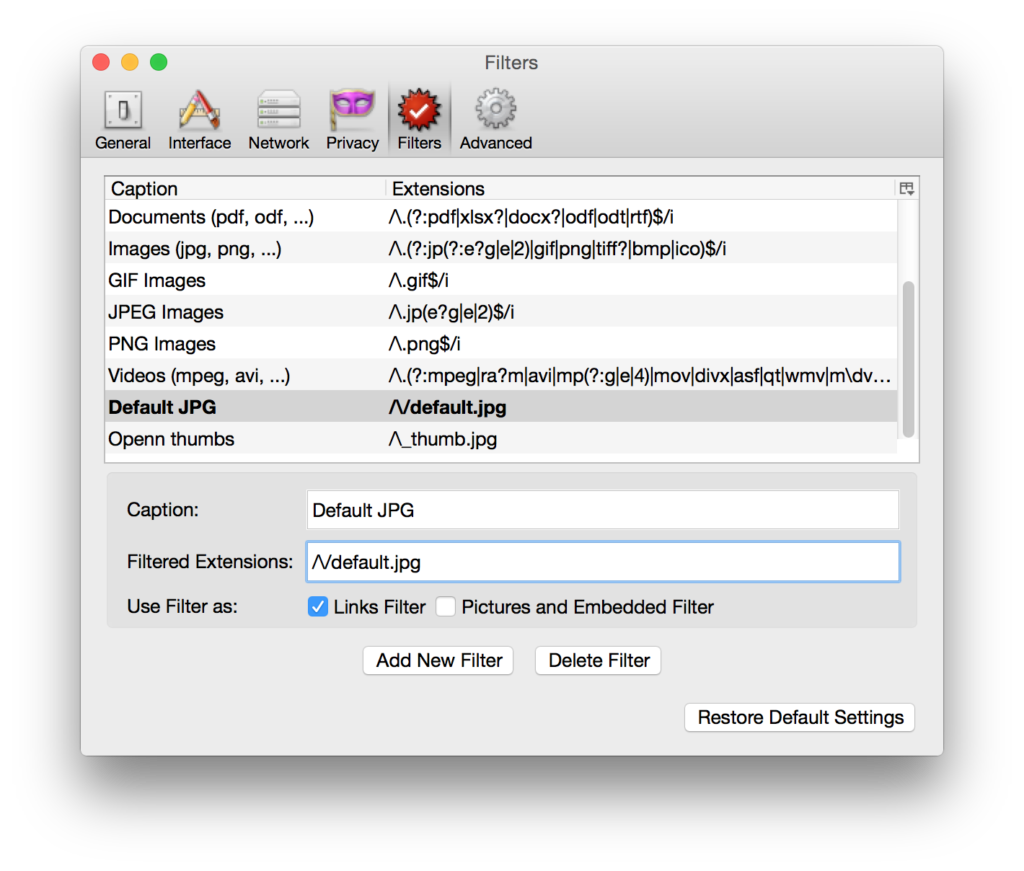
Filters. There they are. To create a new filter, click the “Add New Filter” button, and call the new filter “Default Jpg” (or whatever you like). In the Filtered Extensions field, type “/\/default.jpg” – the filter will select only those files that end with “default.jpg” (yes you do need three slashes there!). Note that you do not need to press save or anything, the filter list updates and saves automatically.
New filter - Return to the main Down Them All view and check the box next to your newly-created filter. Be amazed as all the “default.jpg” files are highlighted.
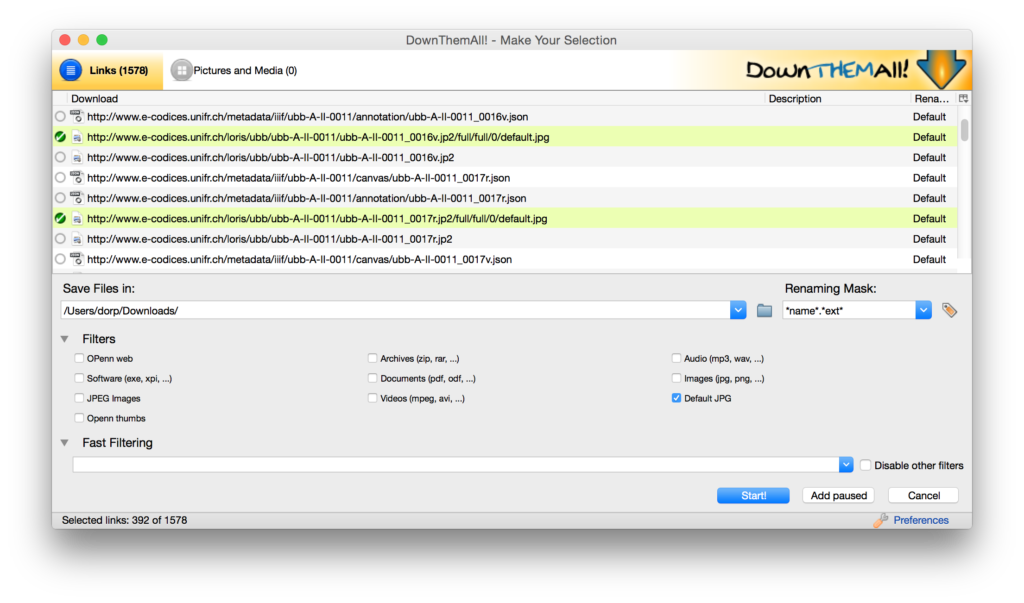
AMAZE - Don’t hit download just yet. If you do, it will download all the files with their given names, and since they are all named “default.jpg” it won’t end well. It will also download them all directly to whatever is specified under “Save Files in” (in my case, my Downloads folder) which also may not be ideal. So you need to change the Renaming Mask to at least give you unique names for each one, and specify where to download all those files. In the case of e-codices the manifest urls include both the manuscript shelfmark and the folio number for each image, so let’s use the Renaming Mask to name the files according to the file page. Simply change *name* to *flatsubdirs* (flat subdirectories). Under “Save Files in”, browse to wherever you want to download all these files.
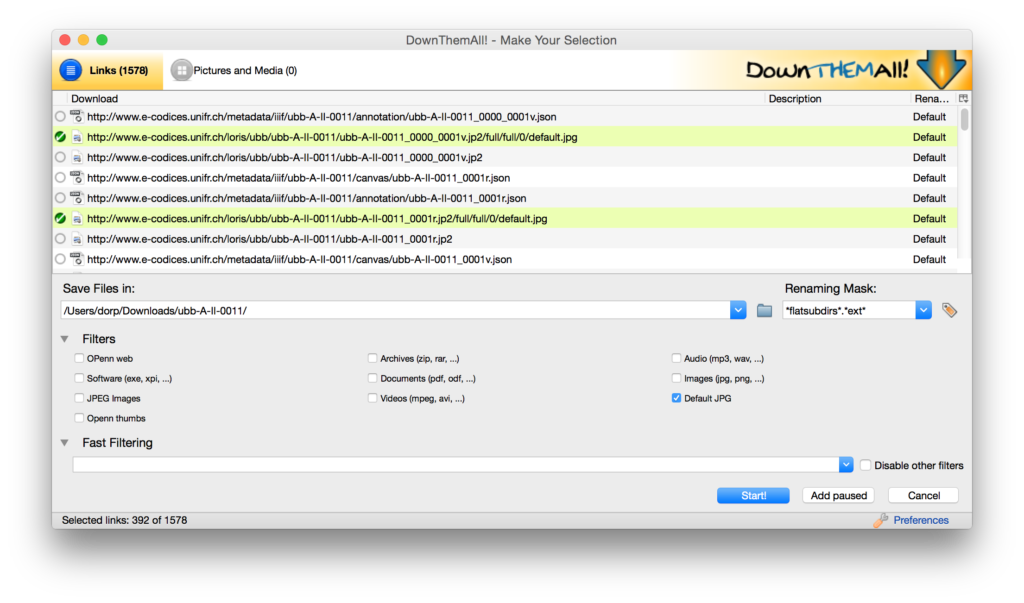
Renaming Mask and Save Files in, read to go - Press “Start” and wait for everything to download.
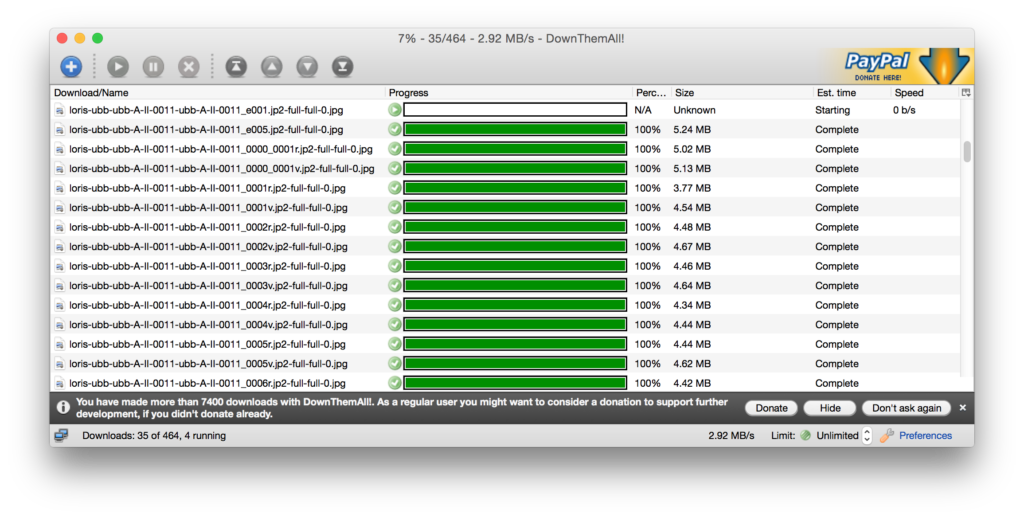
Downloading… Congratulations, you have downloaded all the images from this manuscript! You’ll probably want to rename them (if you’re on Mac you can use Automator to do this fairly easily), and you should also save the manifest alongside the images.
TOMORROW: THE VATICAN!
